1. Access Dynamic Property:
- In the metric creation page, click on “[X]” icon near the sort icon.
- This will open the “Dynamic Property” panel on the right side of the screen.
- Then, click on “+Property” to add a dynamic property to your metric.
2. Configure Dynamic Property
Enter the Property Name and choose between the two Property Types: “Auto” or “Custom”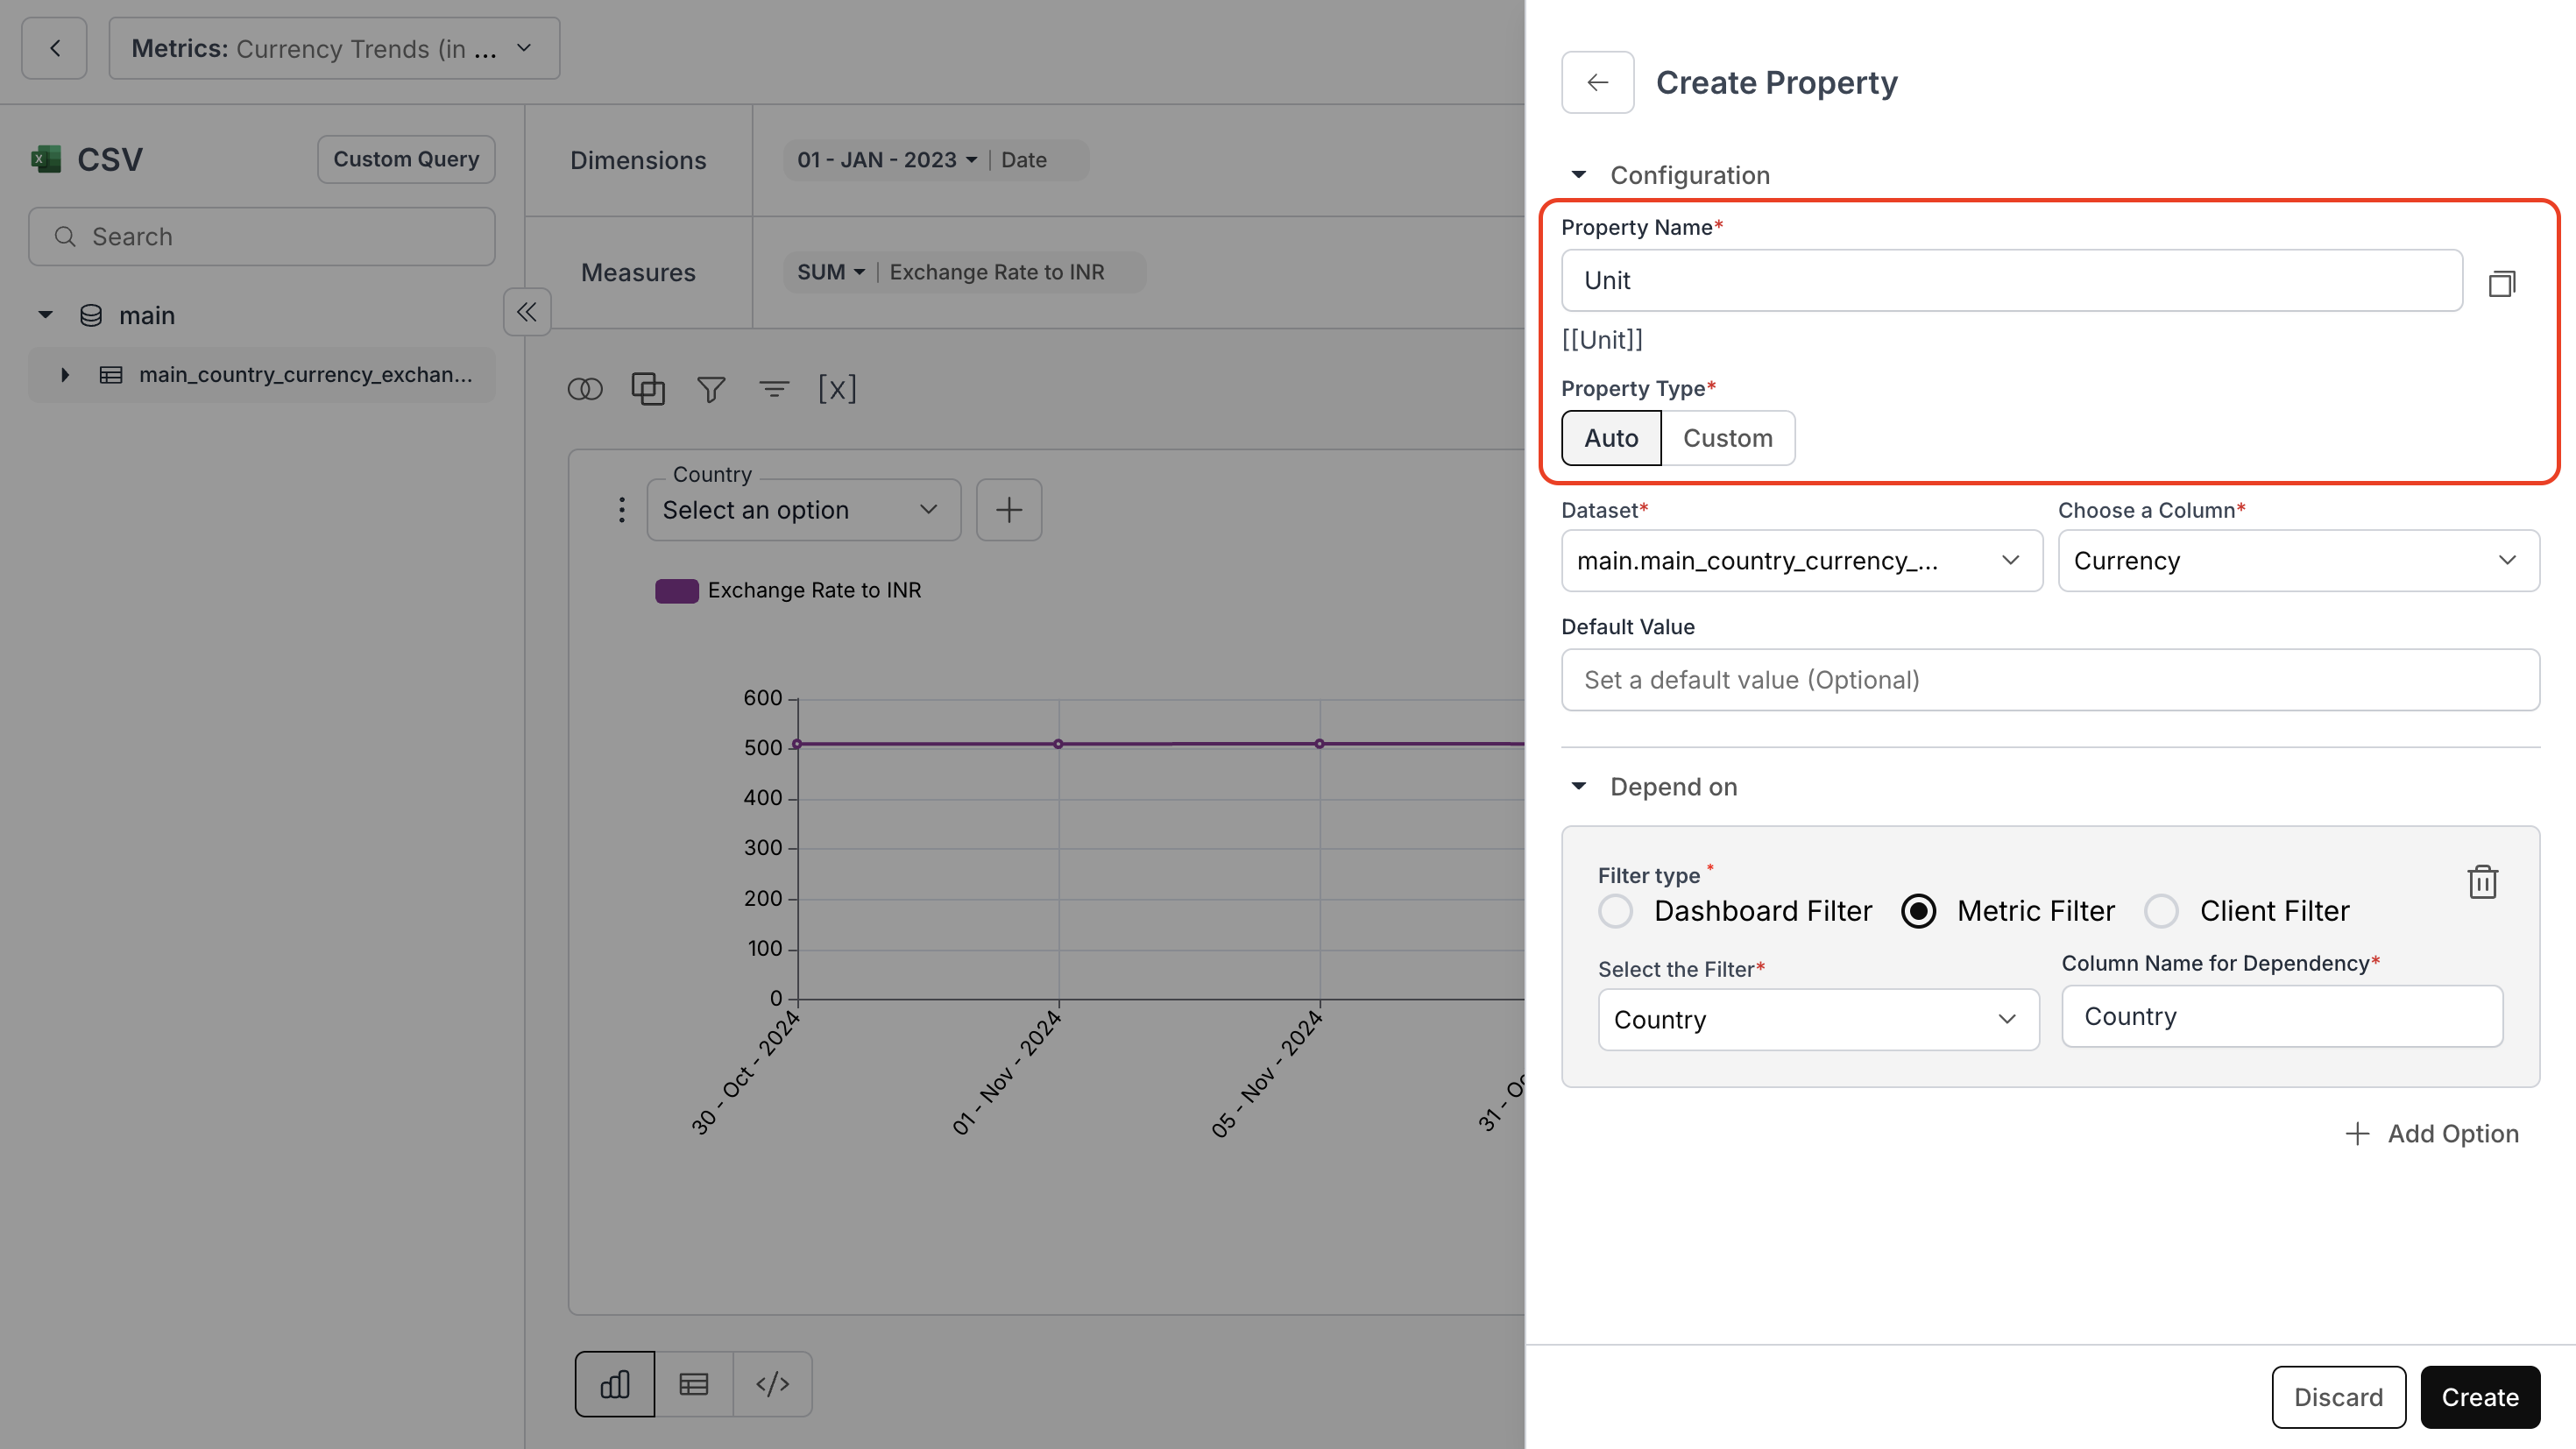
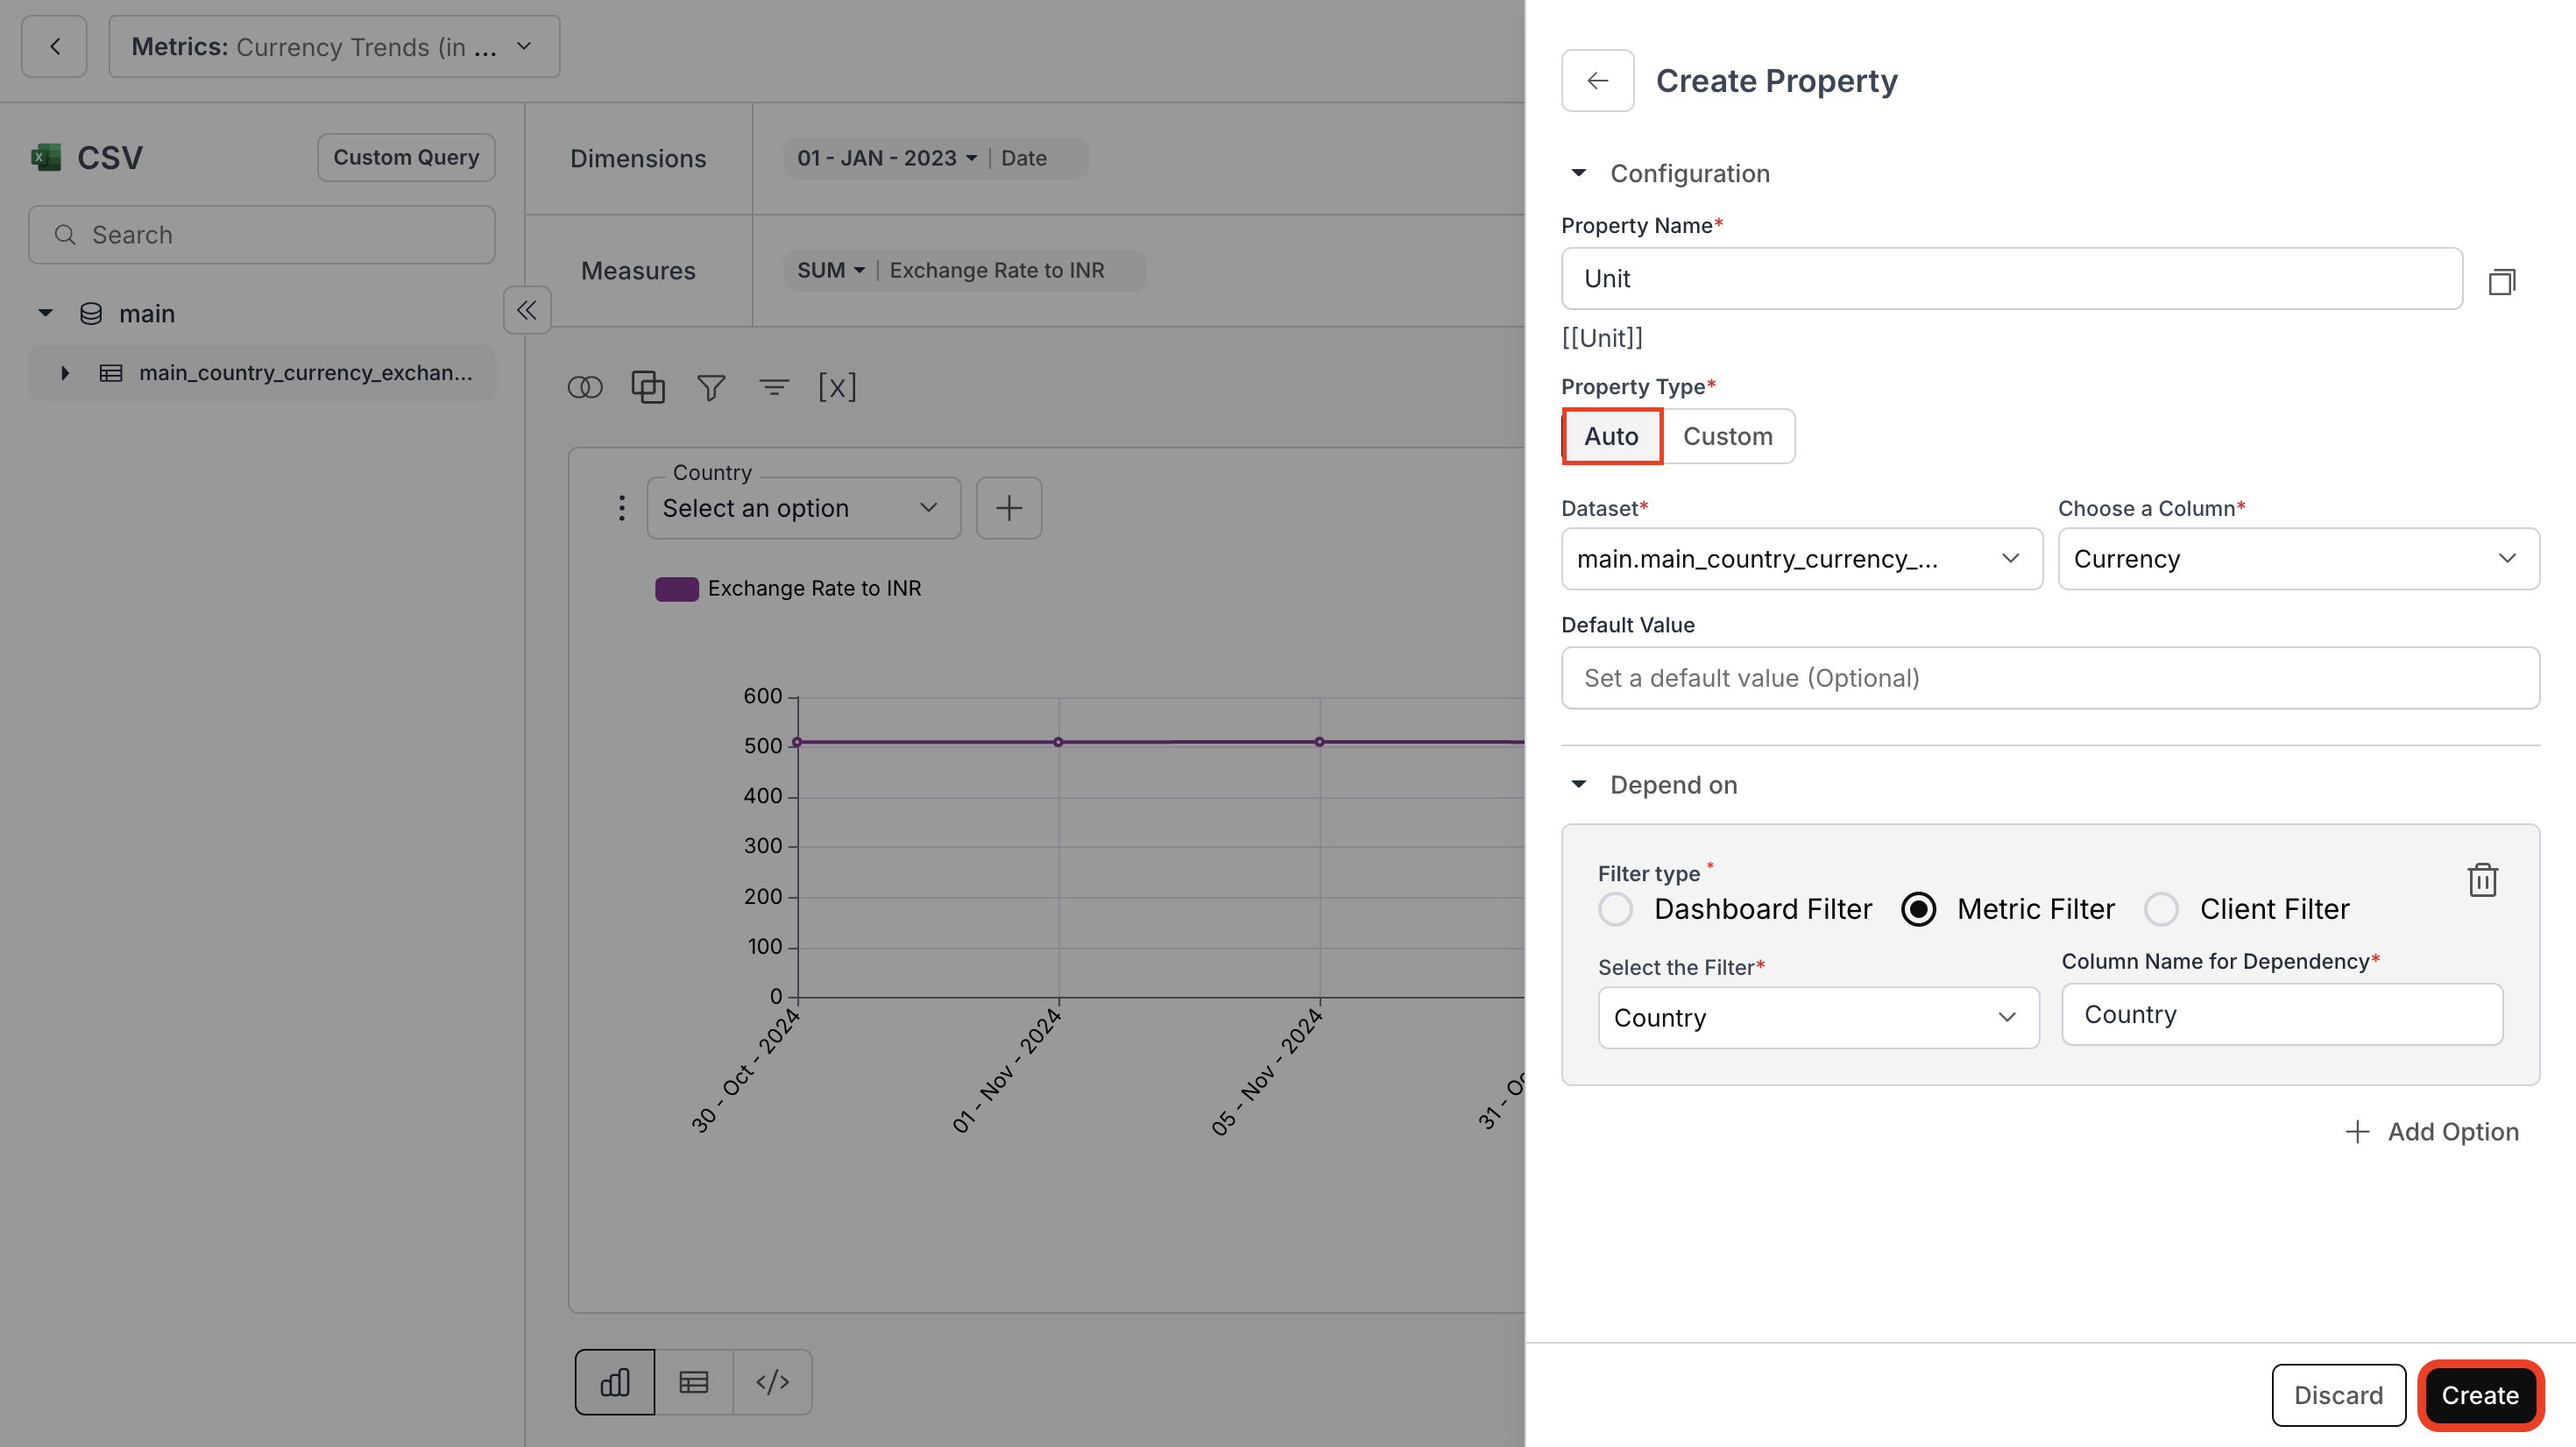
For Auto Property Type
- Choose the dataset and the column you want to consider.
- Then, select the dependencies: dashboard or metric filter type. (Optional)
- Finally, click on “Create”.
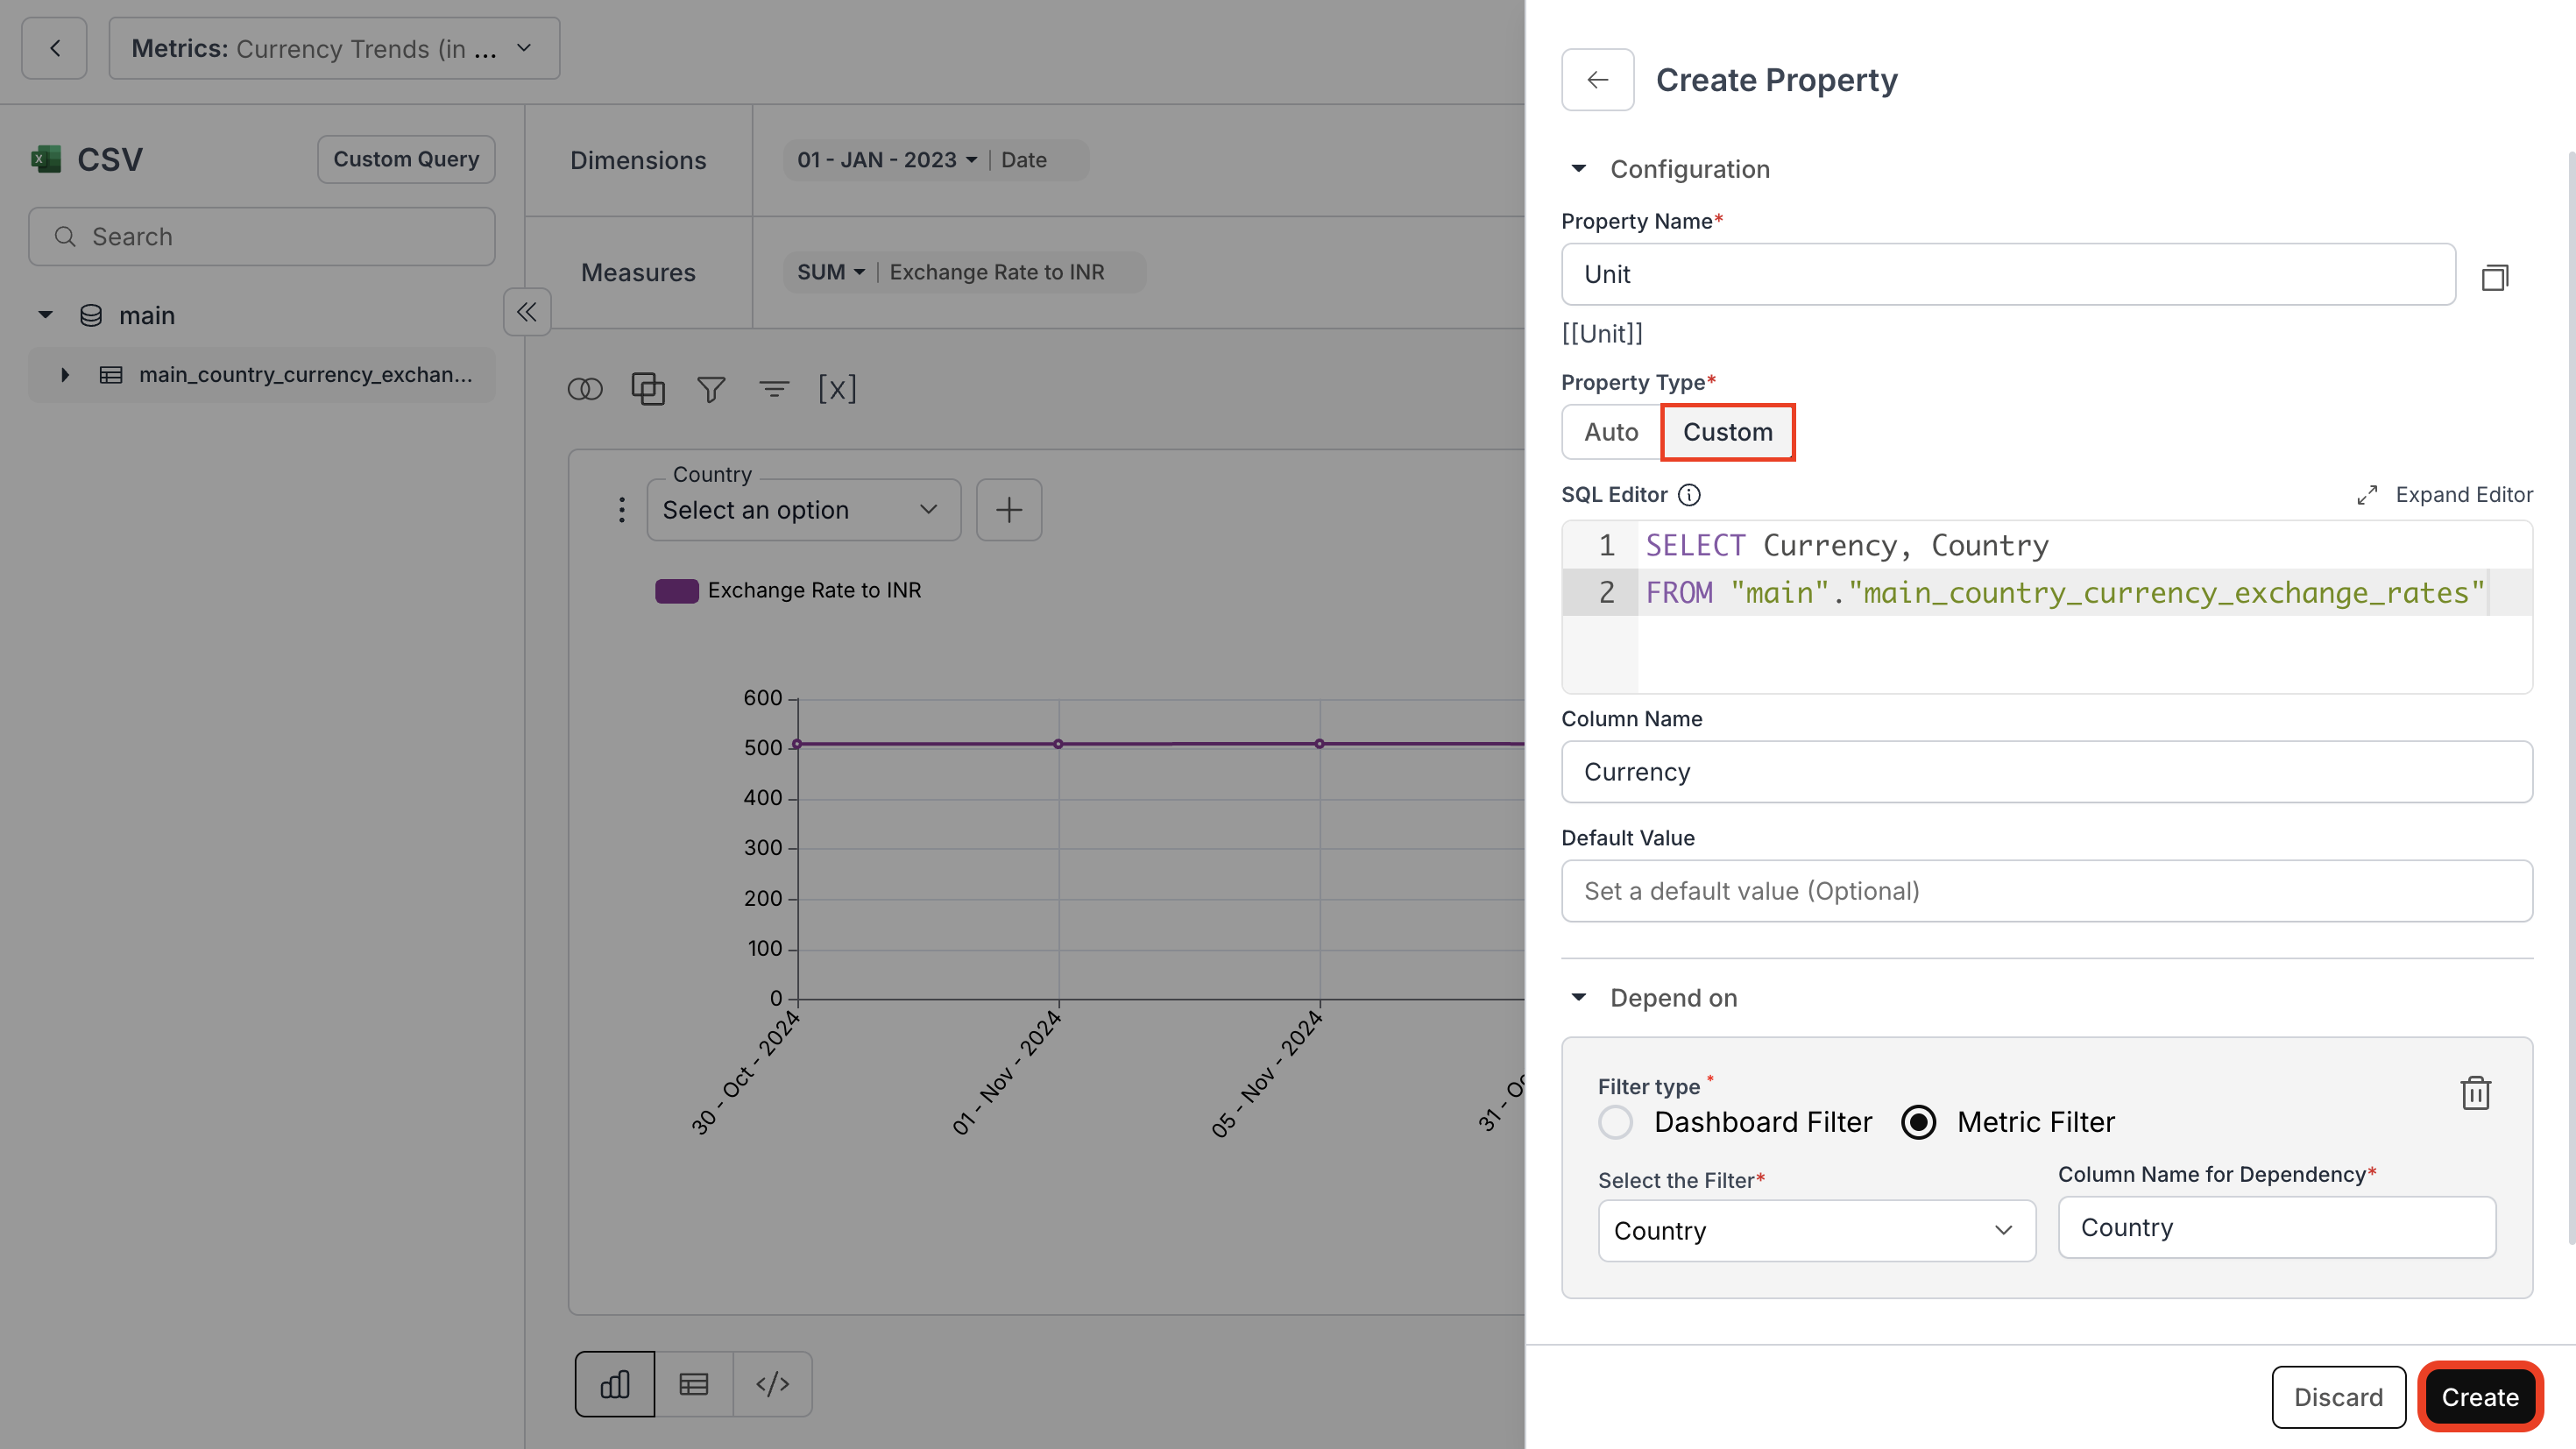
For Custom Property Type
- Enter your SQL query to choose your dynamic value and dependent columns, and select the column name.
- Then, select the dependencies: dashboard or metric filter type. (Optional)
- Finally, click on “Create”.
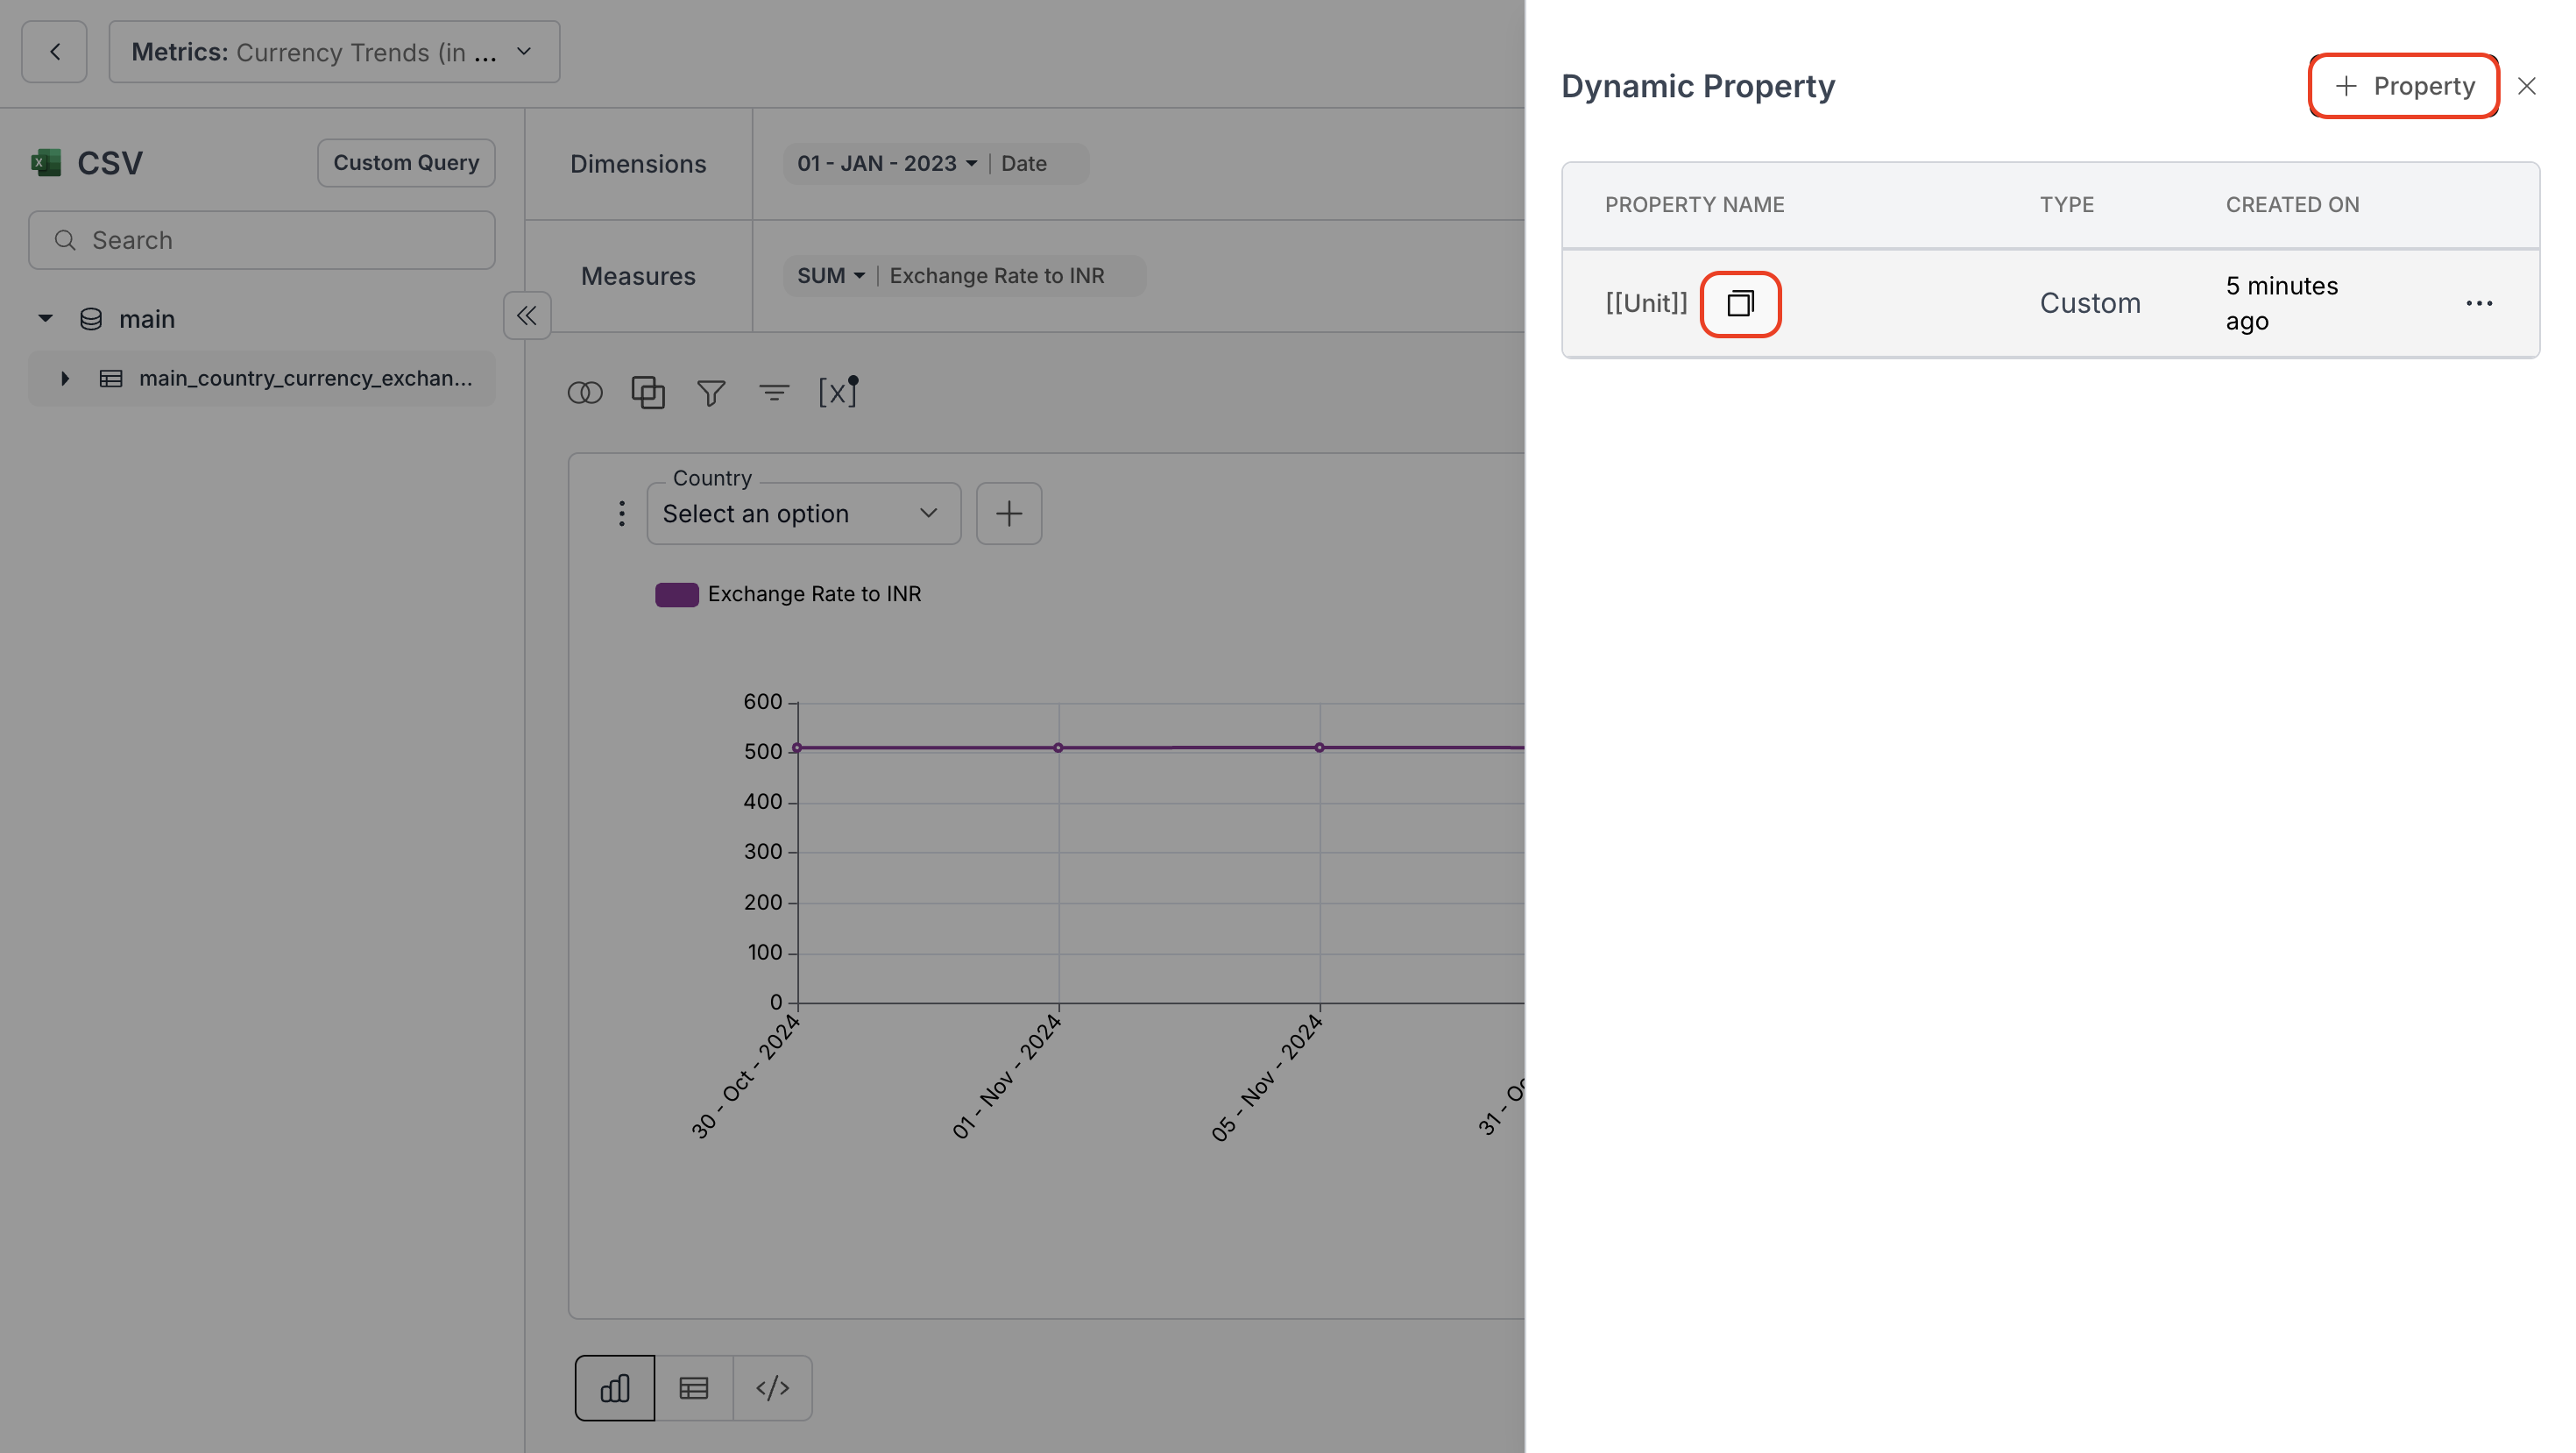
3. Verify Property Creation
- Check the property listed in the Dynamic Property panel.
- Copy the property name format:
[[PropertyName]]and close the panel.
4. Use Dynamic Property in Metrics
In the Formatting Options of a metric, use the[[PropertyName]] format in:
- Prefix
- Suffix
Localized Currency Symbols
This guide provides a practical approach for utilizing Dynamic Property to dynamically display revenue in multiple currencies for different countries.
5. Save Metric to Dashboard
- Click the “Save to Dashboard” button.
- Then, use the
[[PropertyName]]format in:- Metric Title
- Metric Description
- Metric Long Description, and
- Footnote
6. View Dynamic Property
The dynamic property[[Unit]] shows different currency units based on the selected country.

You’ve successfully configured and applied Dynamic Properties in your metric!
Your metrics now respond intelligently to filters and user selections, enabling dynamic, context-aware values across your dashboards.
Your metrics now respond intelligently to filters and user selections, enabling dynamic, context-aware values across your dashboards.